Account Settings
You can manage your personal information, login credentials, and security preferences directly from your Account Settings panel.
Here’s how to access and update your settings:
🔽 Step 1: Go to Settings
Scroll down the left-hand side menu until you see the Settings icon at the very bottom.
Click on Settings to open your account panel.

🔽 Step 2: Booking Settings
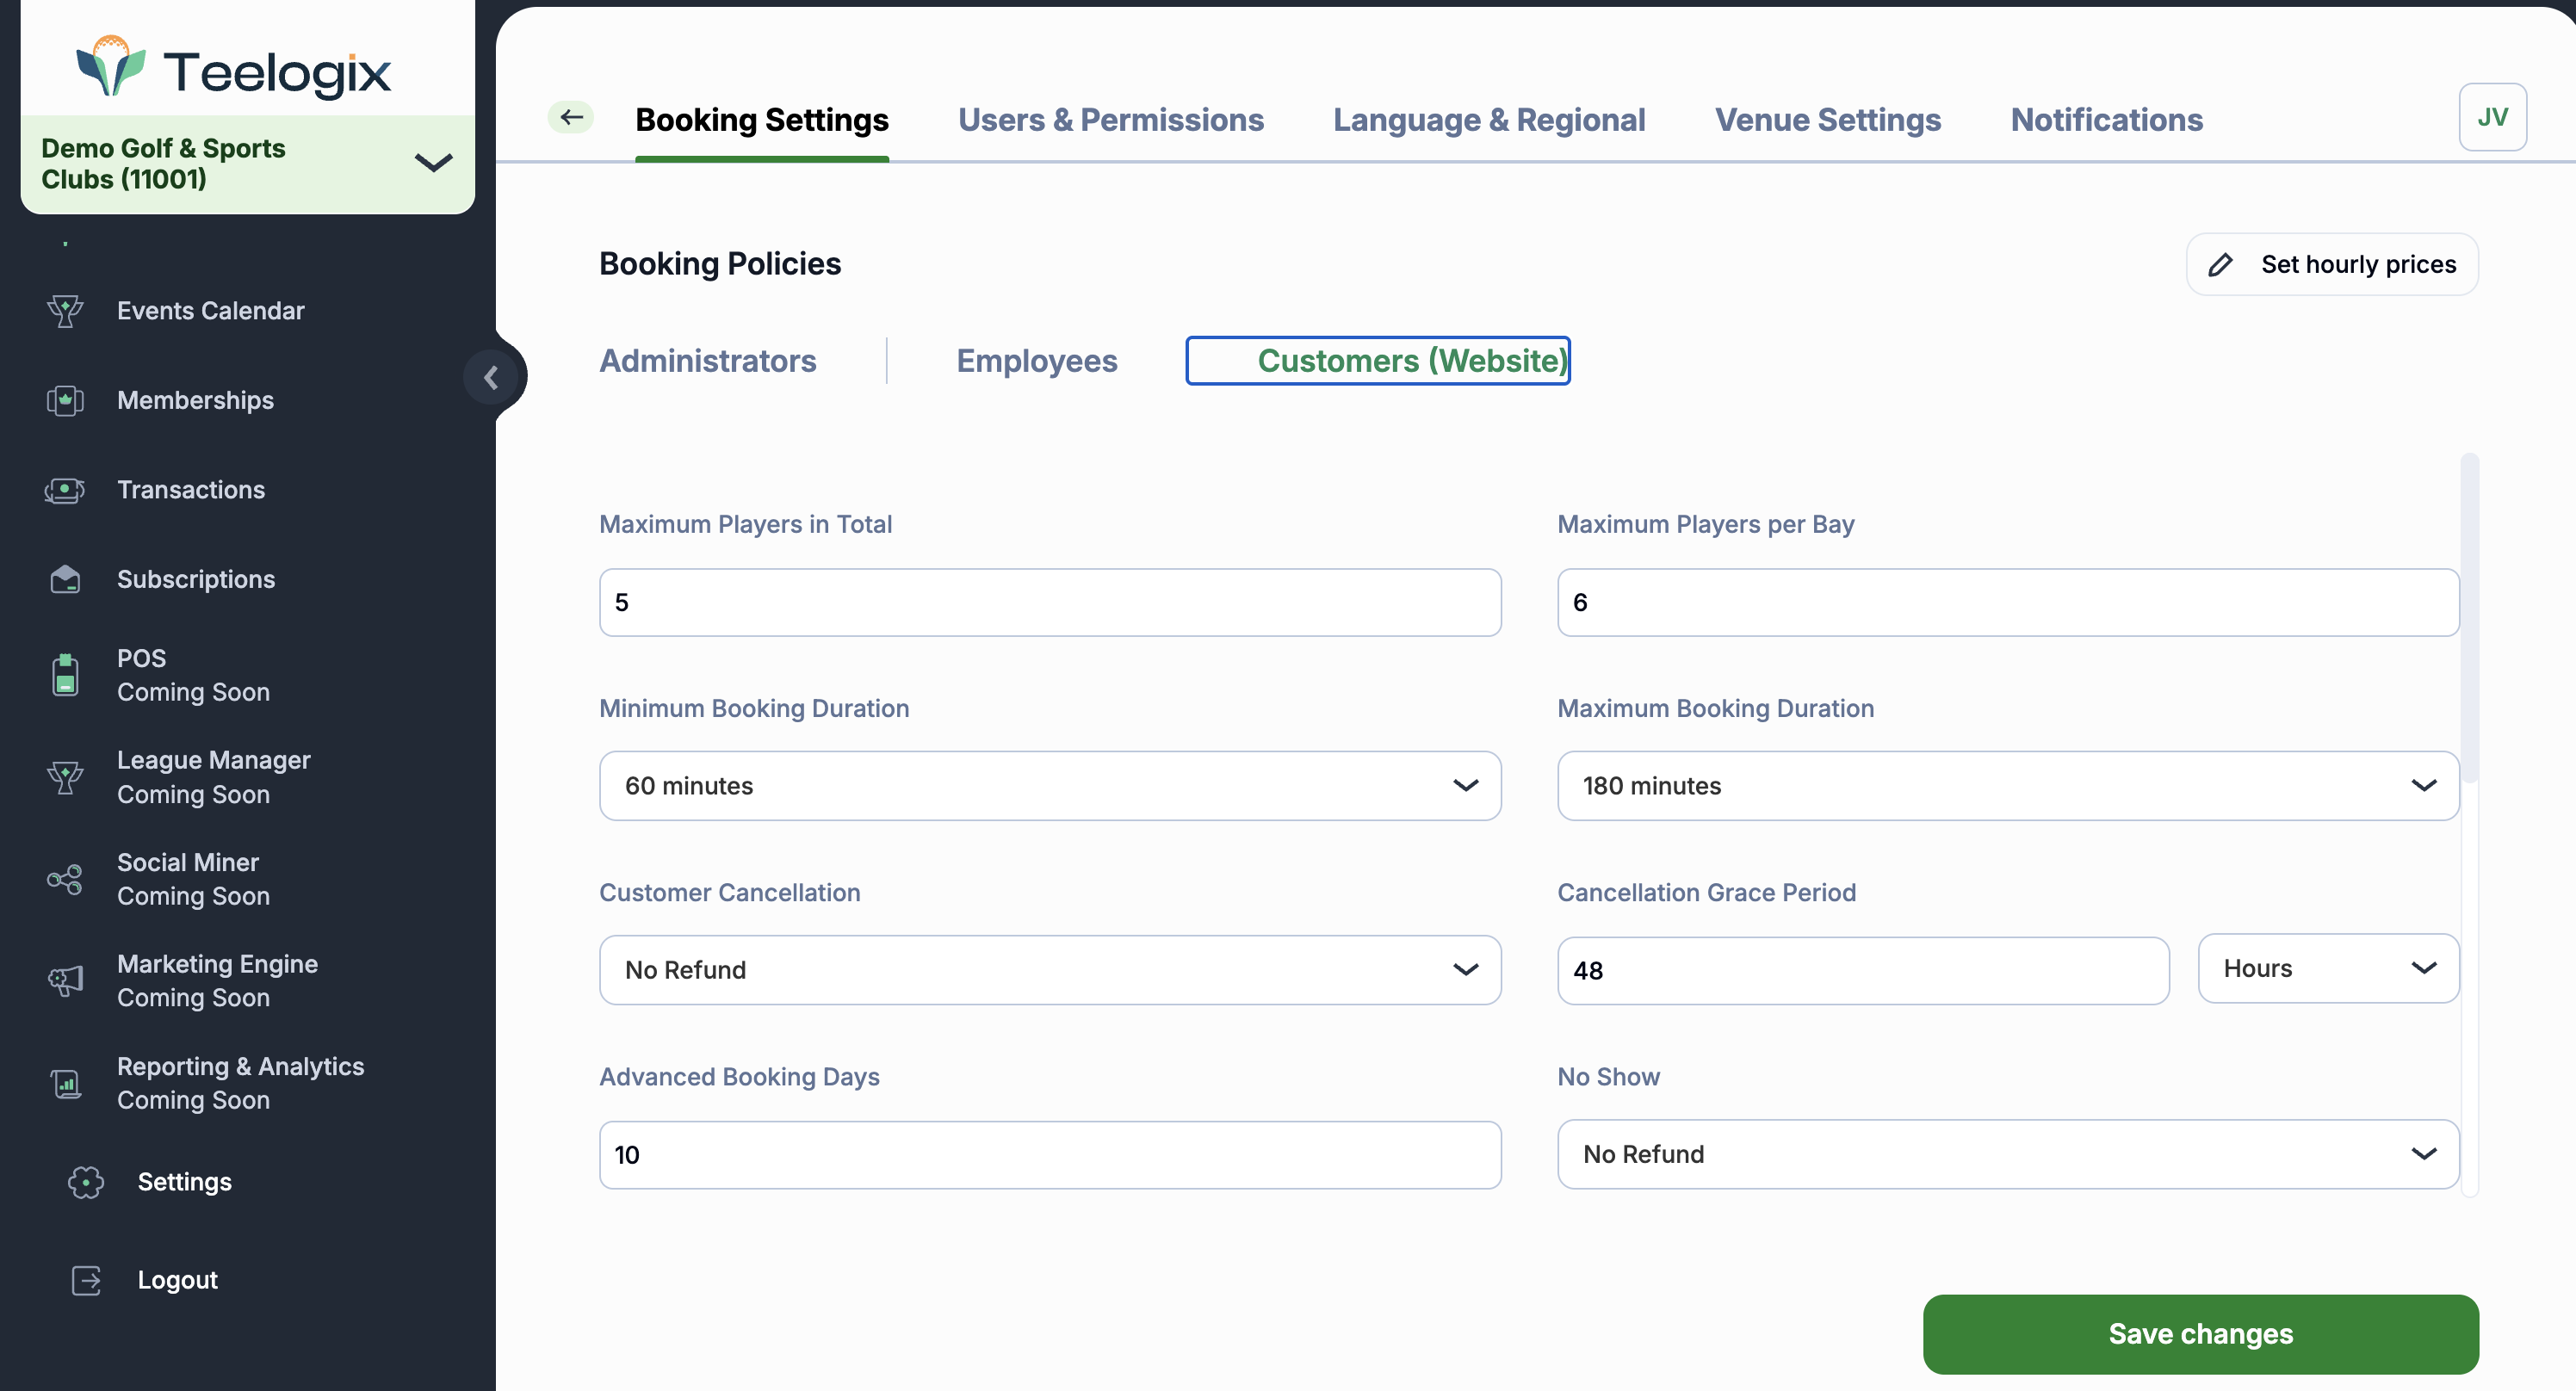
Booking Settings allow you to define how your venue operates—from player limits and cancellation rules to automated reminders and hourly pricing.
This is where you set your Booking Policies for:
- Administrators
- Employees
- Customers (Website)
Each tab lets you customize policies for different user types.
What you can configure:
1. Player Limits
Set the max number of players per bay and per booking to control flow and avoid overbooking.
2. Booking Duration
Define minimum and maximum duration for each booking (e.g., 30 mins to 3 hours).
3. Cancellation Rules
Decide whether customers can cancel their bookings, and if yes, how far in advance (e.g., 1 day before).
4. Advance Booking Window
Control how many days in advance a booking can be made (e.g., up to 14 days).
5. No-Show & Refund Policy
Choose what happens if a customer doesn’t show up. You can allow or block refunds based on your policy.
6. Grace Periods & Timeouts
Set grace time after bookings and auto-timeouts for no activity. This keeps your schedule running smoothly.
7. Bay Assignment Logic
Choose whether bays are assigned automatically by the system or manually by staff.
8. Booking Notices
Add any custom notes or disclaimers visible to customers during booking (e.g., “Please bring your own clubs”).
Hourly Pricing & Peak Hours
Use the "Set Hourly Prices" button to:
- Define base rates for each bay or simulator
- Set peak hour pricing to charge more during busy times
Booking Notifications & Reminders
Enable automated email reminders for both staff and customers:
- Reduce no-shows
- Keep your team aligned
You can set:
- Pre-booking reminders
- Post-booking confirmations
- Staff notifications
Pro Tip:
Use different rules for staff and customers. Example: Allow employees to make same-day edits, while keeping customer changes restricted to 24 hours prior.
Customers (Website) Section
This section controls how your booking page appears and behaves on your public website—especially useful for managing tee times and simulator schedules.
Here, you can fine-tune policies such as:
- Maximum players allowed per bay or per booking
- Minimum and maximum booking duration
- Whether customers can cancel their bookings (and how far in advance)
- Grace periods for cancellations and late arrivals
- No-show consequences (e.g. blocking repeat offenders)
- How far in advance customers are allowed to book
- Maximum number of bookings per customer
- Timeout settings for inactive sessions
- Automated bay assignment (Bay Selection Algorithm)
- Custom booking notices visible during the booking process
You can also display helpful bullet-point reminders directly on the booking interface and configure hourly pricing for simulators, including peak hour pricing to manage demand.
These settings directly impact how customers interact with your tee time interface—giving you full control over the online booking experience.
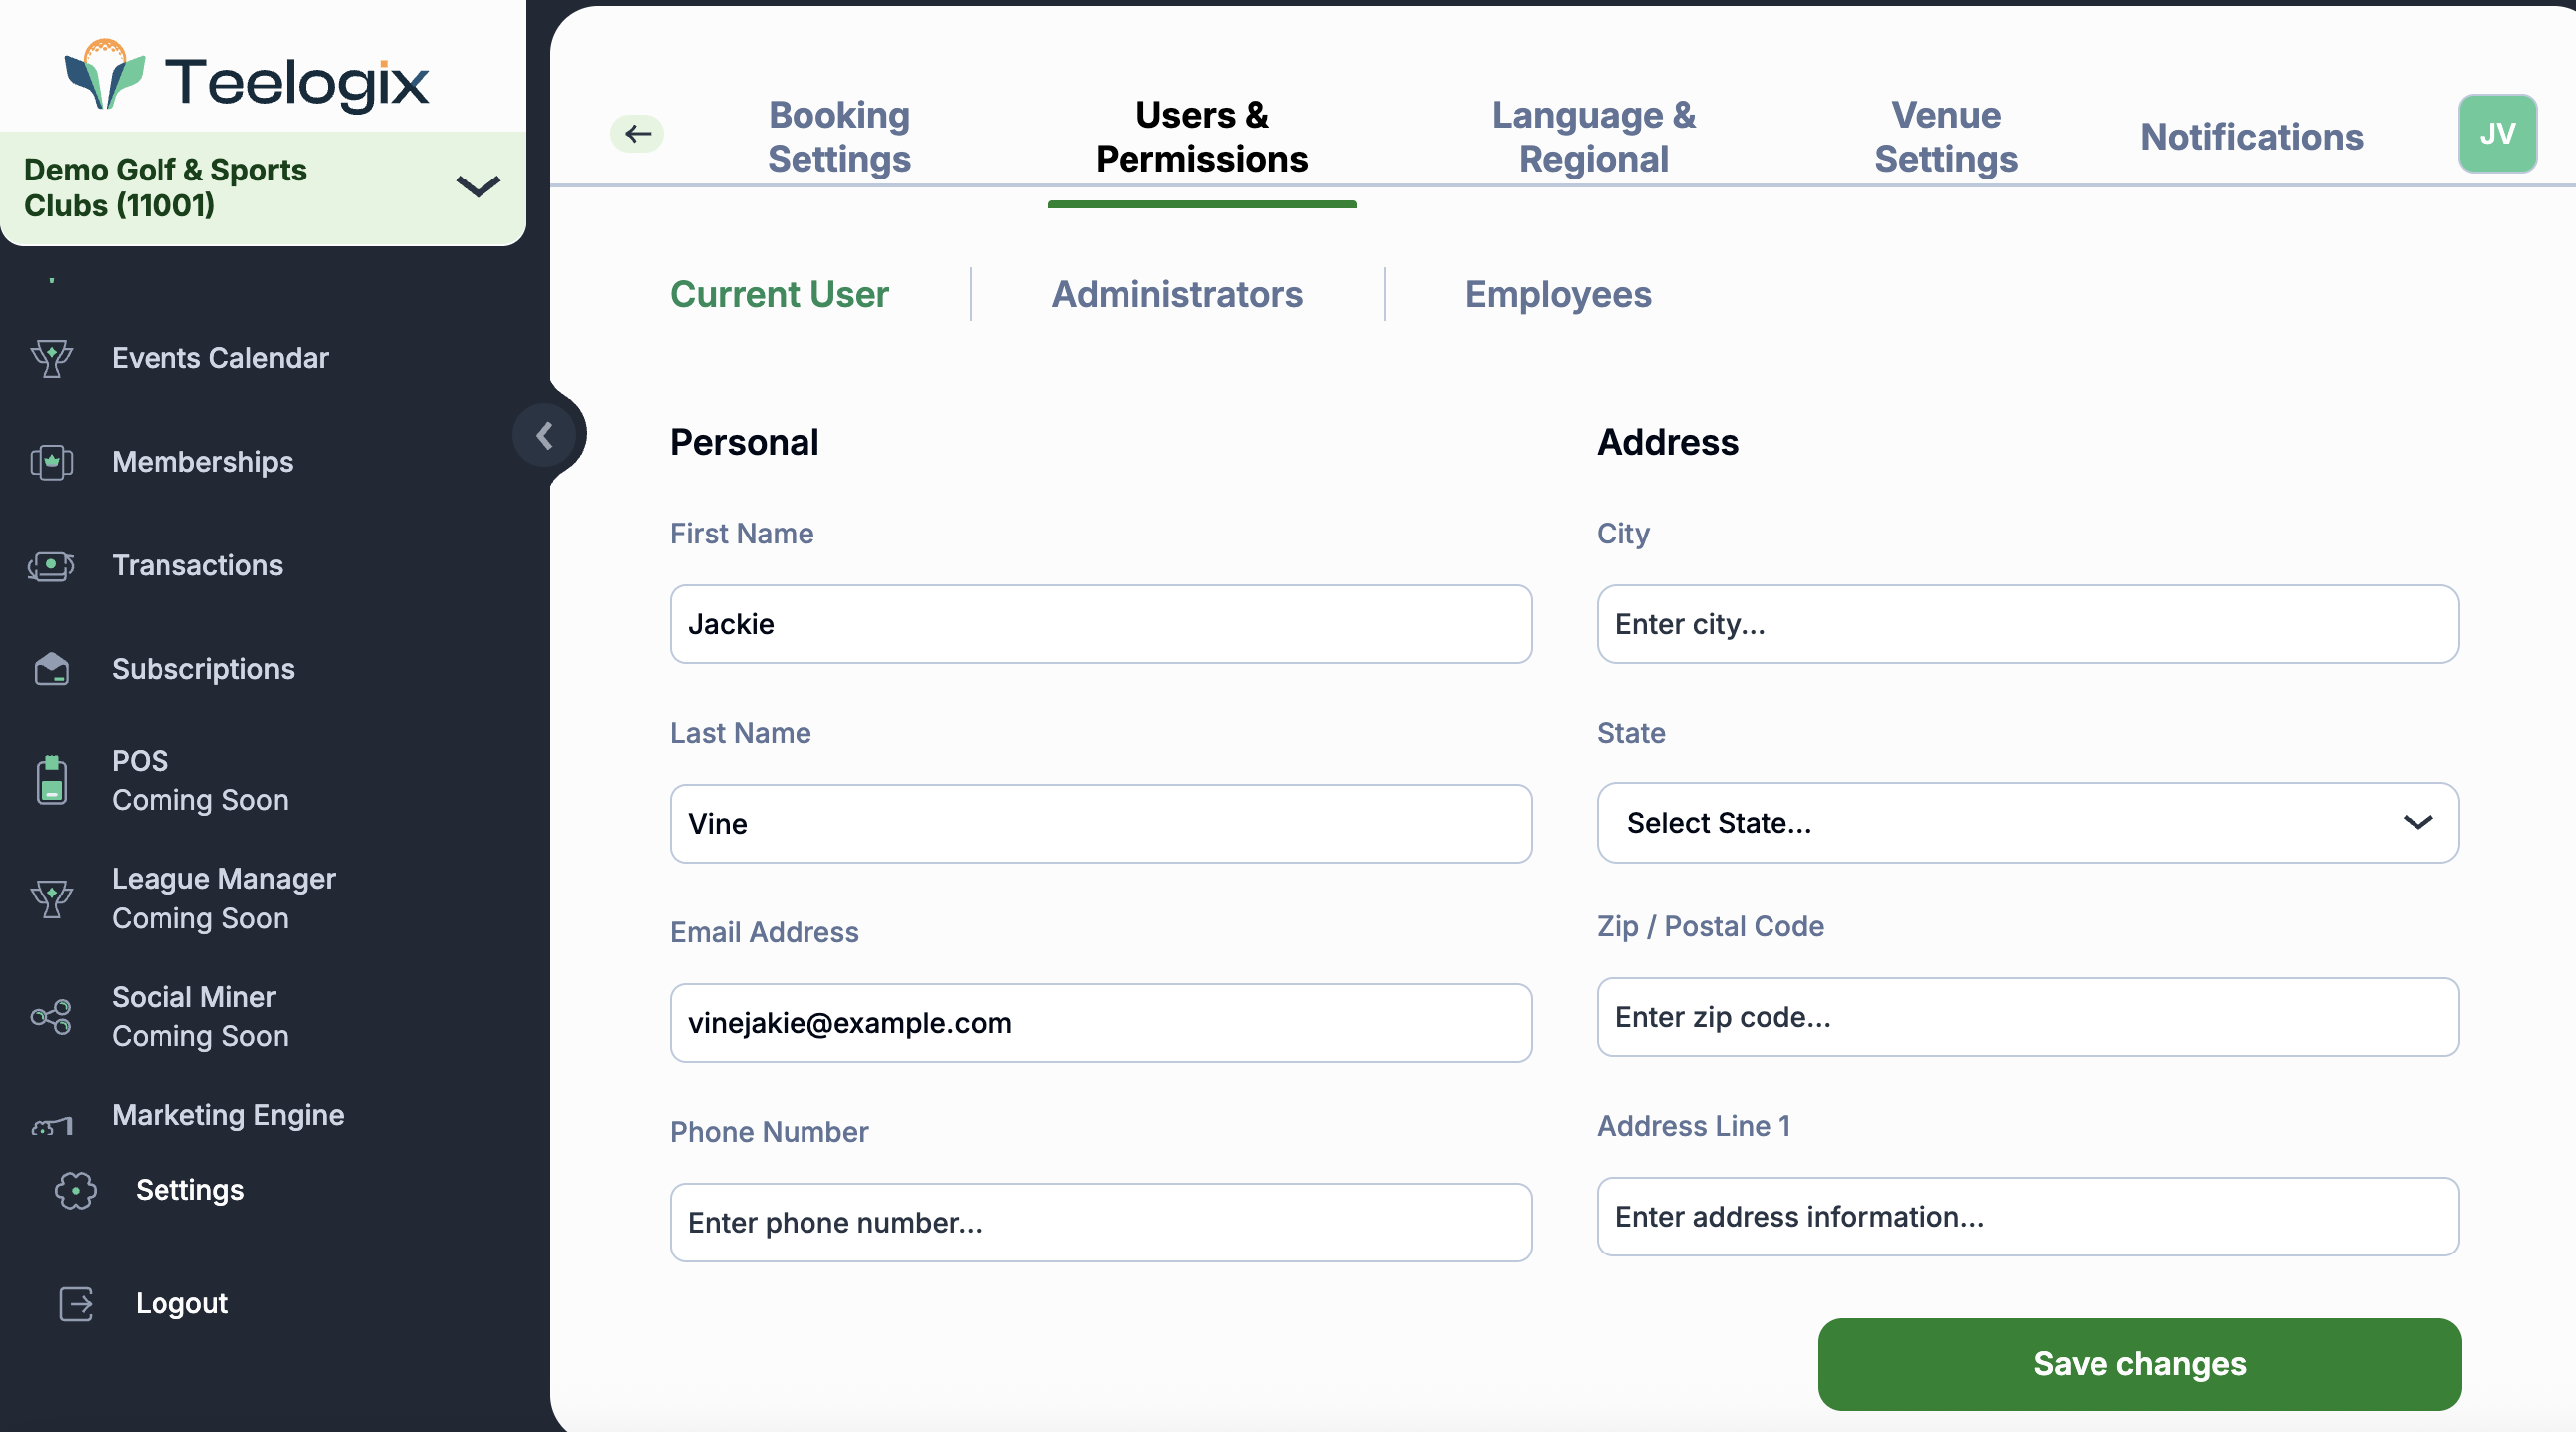
🔽 Step 3: Users& Permissions
Manage who can access what in your Teelogix account. Switch between:
- Current User (you)
- Administrators
- Employees
You can:
- Add or invite new users
- Set their status (Active/Inactive)
- Edit or remove users
- Assign specific permissions (e.g. manage customers, edit bookings, process refunds)
This ensures your team has the right access level to perform their roles securely.
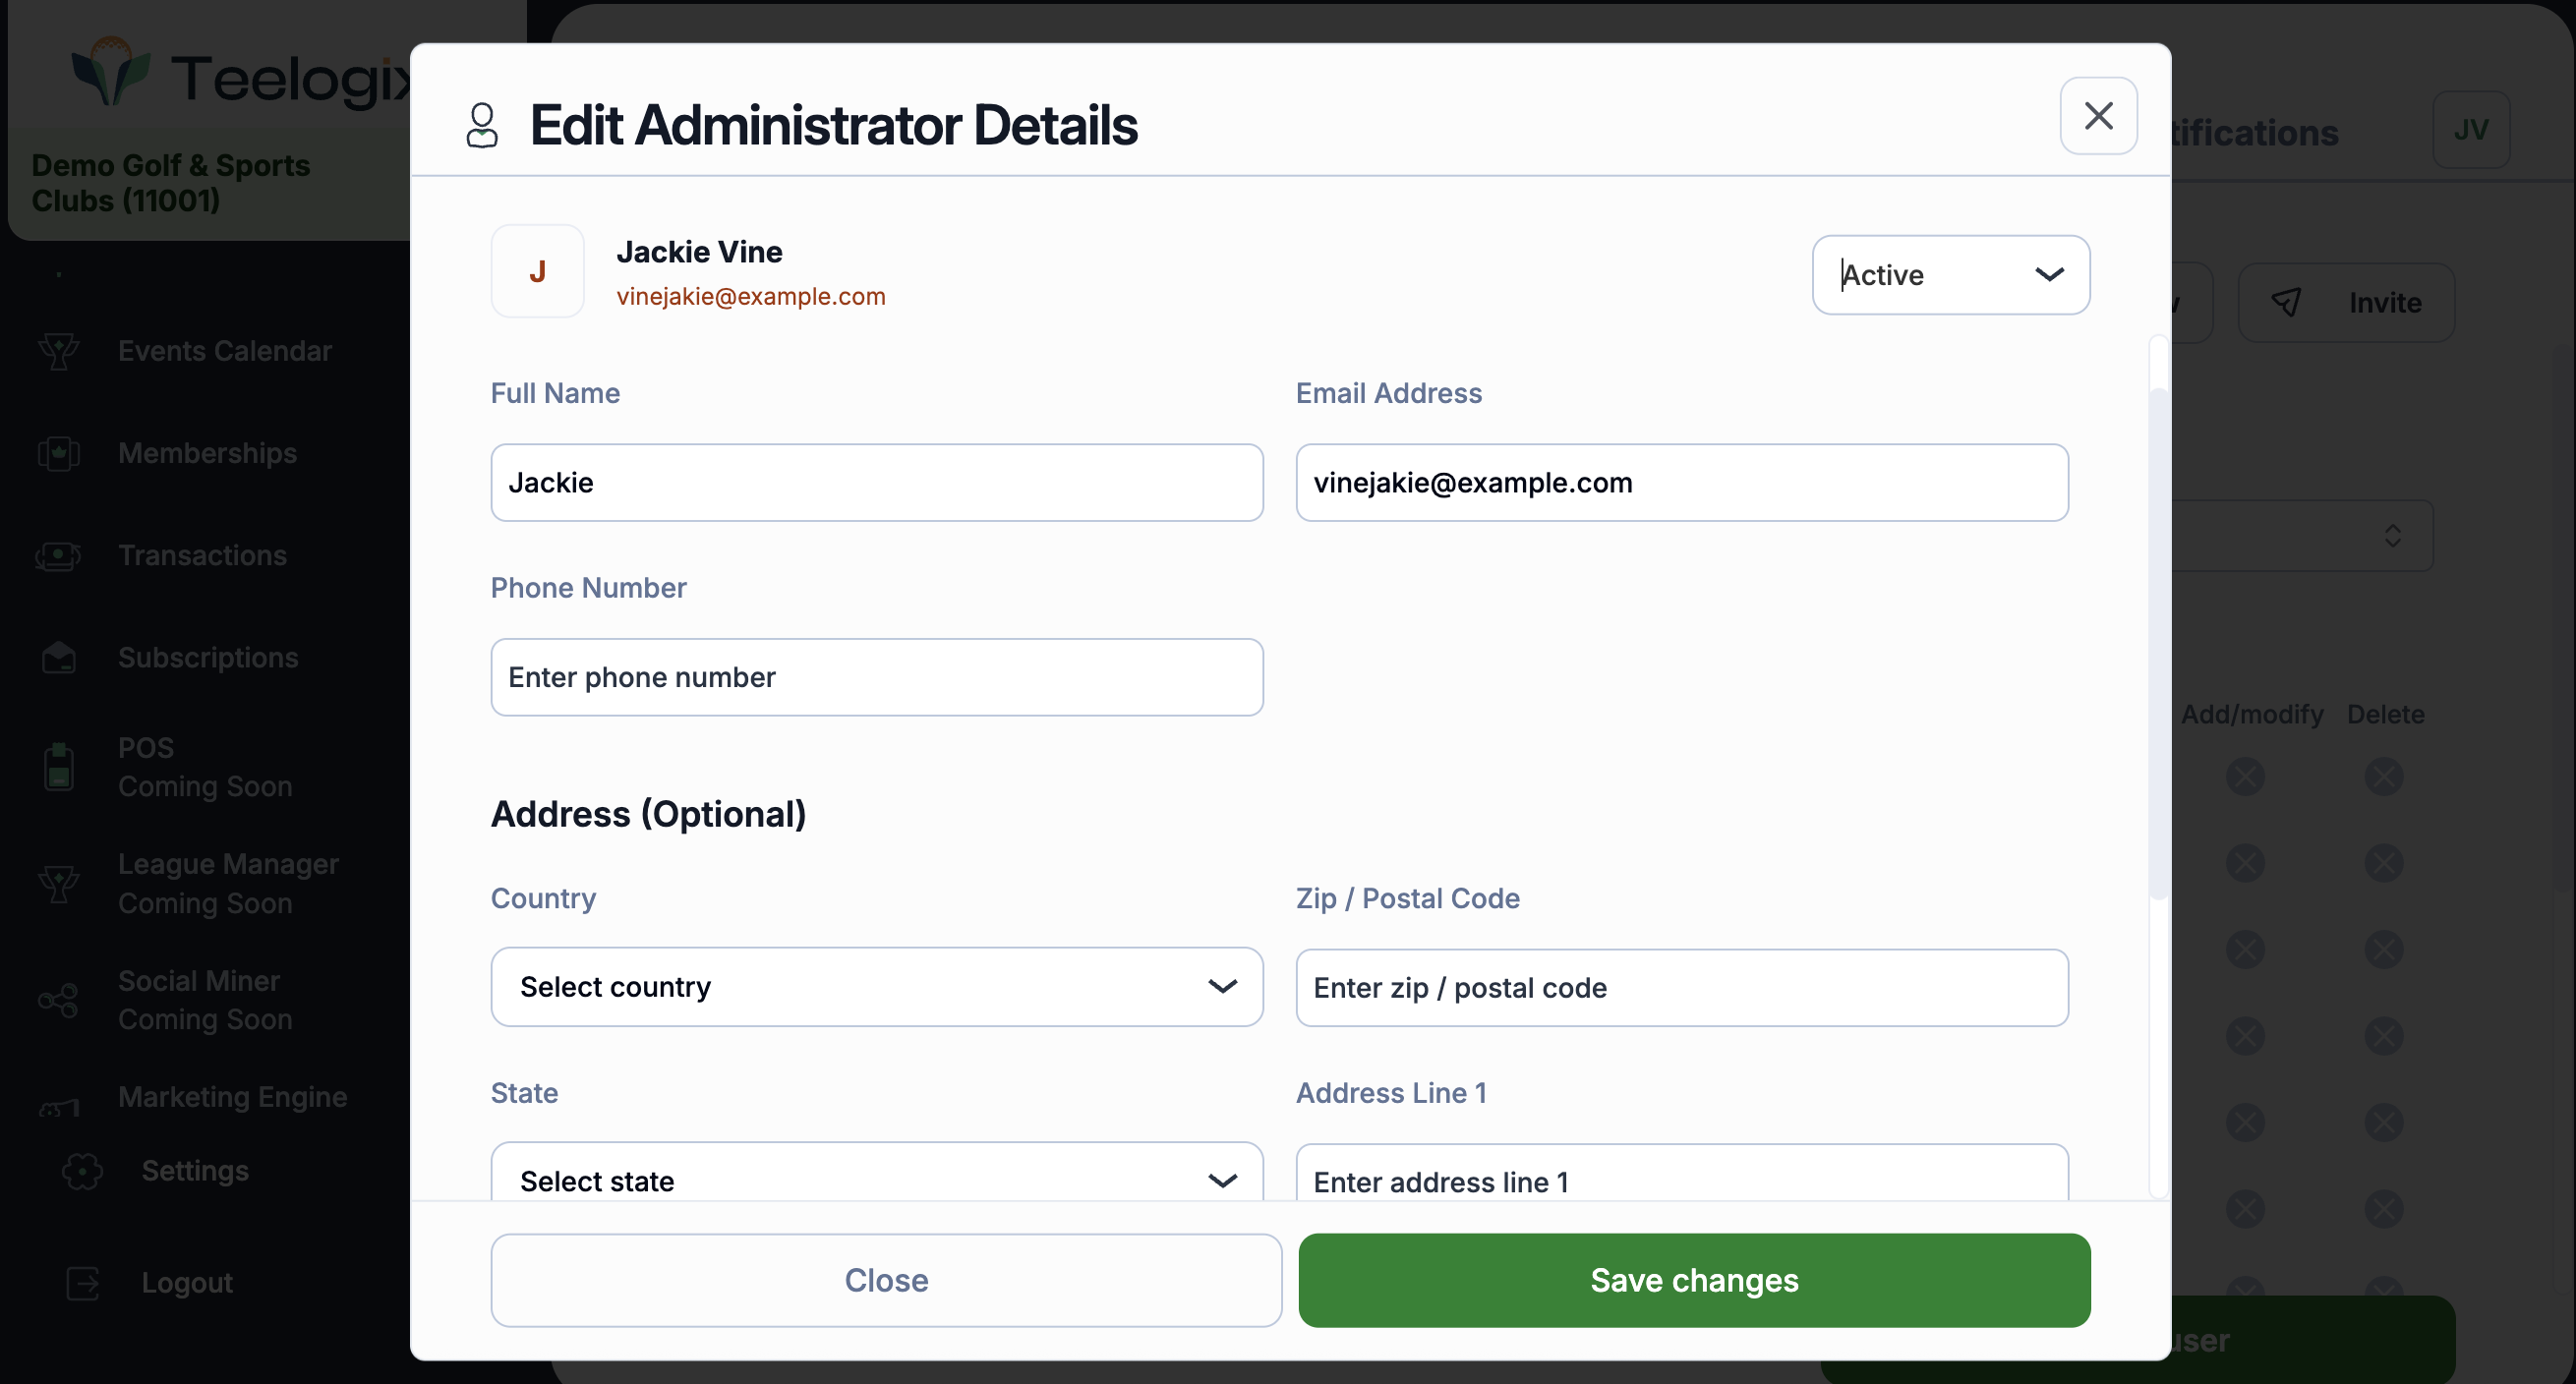
🔽 Step 4: Edit Administrator Details
Clicking “Edit” on a user will bring you to their profile. Here, you can update:
- Personal info: Full name, email, phone number
- Address (optional): Country, city, zip, etc.
- Security settings: Update password or enable two-step verification
Always click Save changes after updating.